DIY Candy Corn Pine Cones Who Needs A Cape?
Candied baby pine cones "Young tiny pine cones, from the female scotch pine tree, are simmered in sugar for almost 2 hours. This renders them soft like toff.
Christmas Treats Edible Pine Cones Chopstick Chronicles
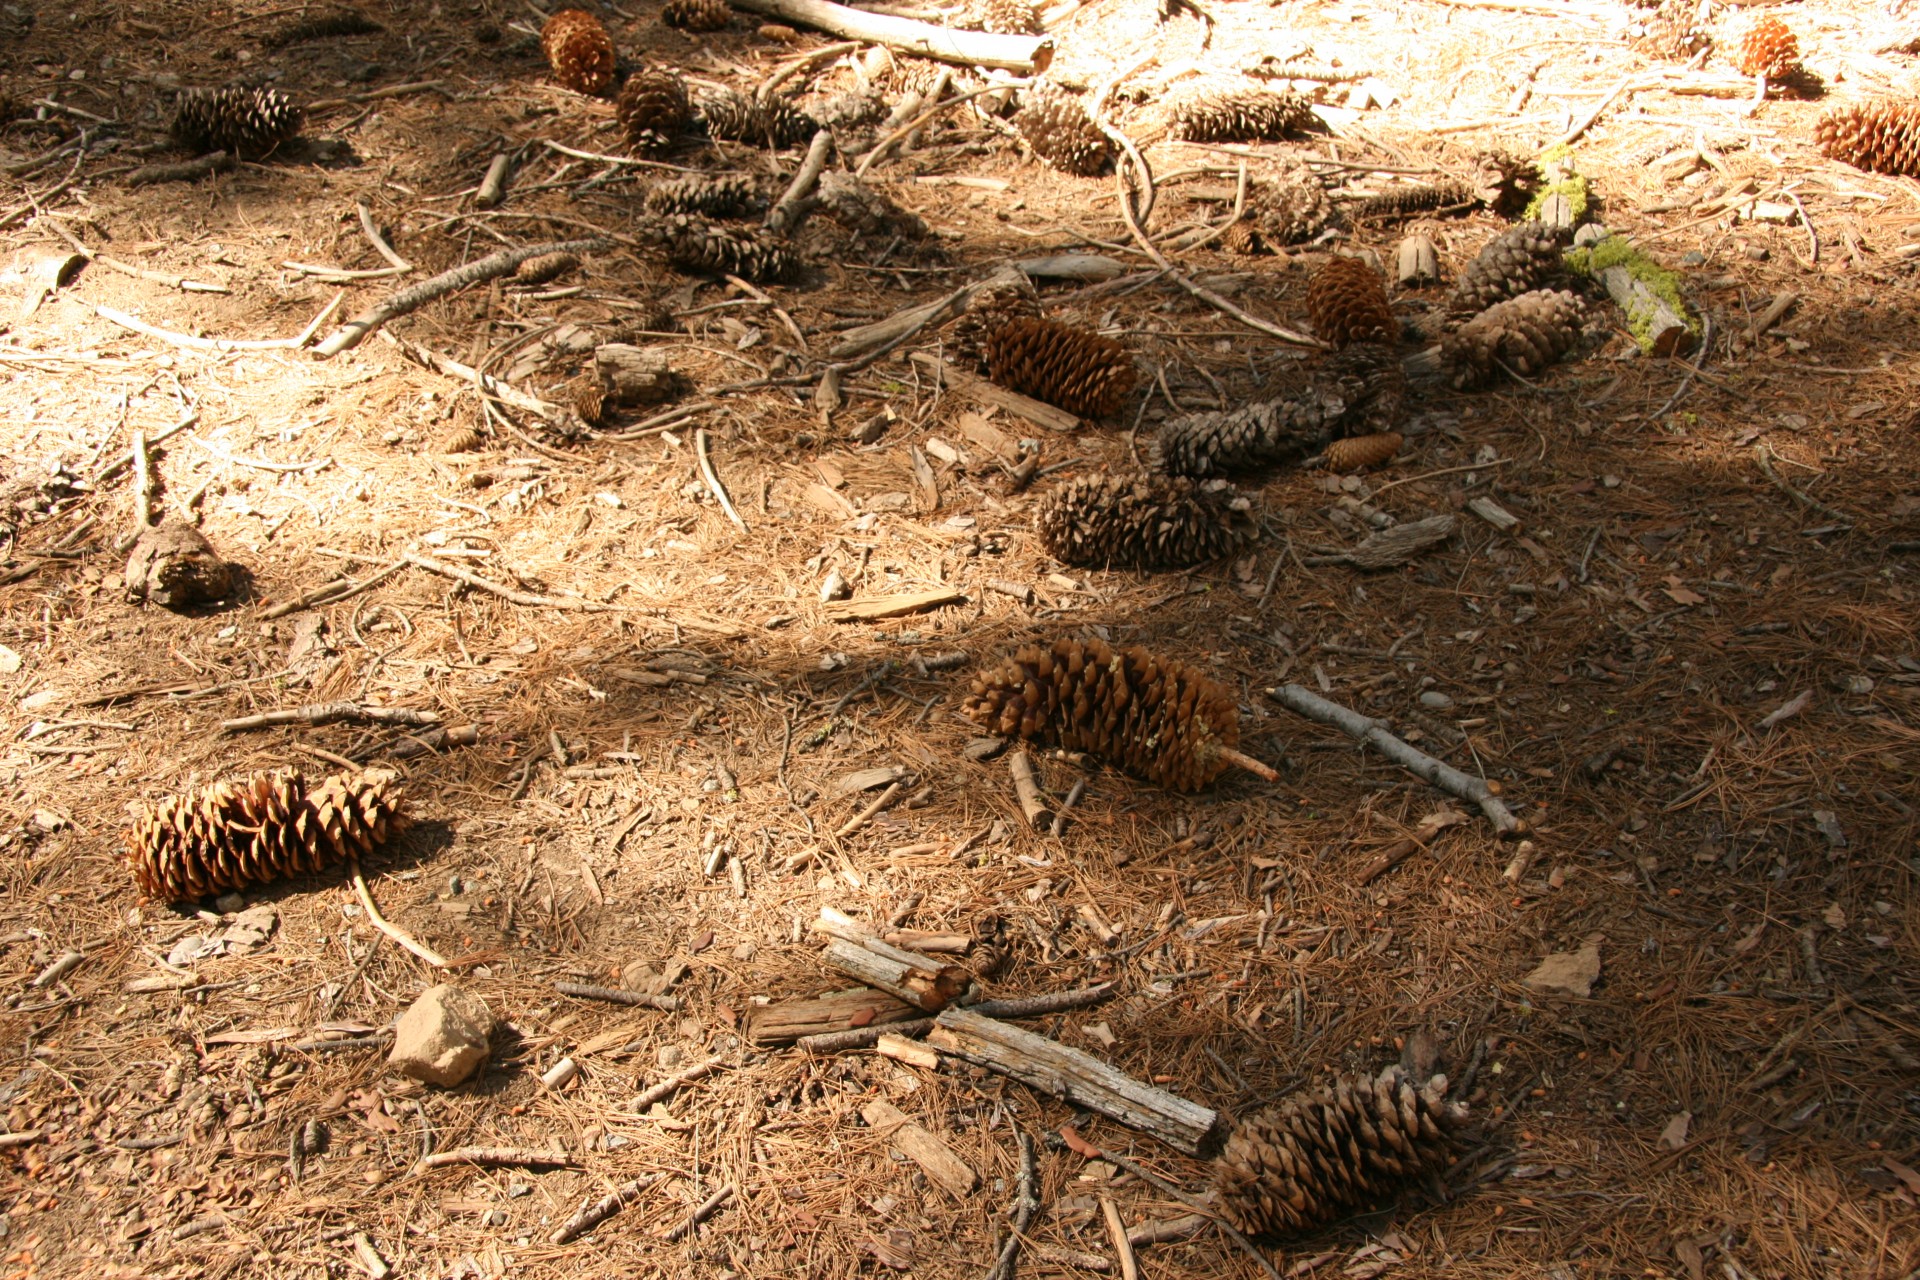
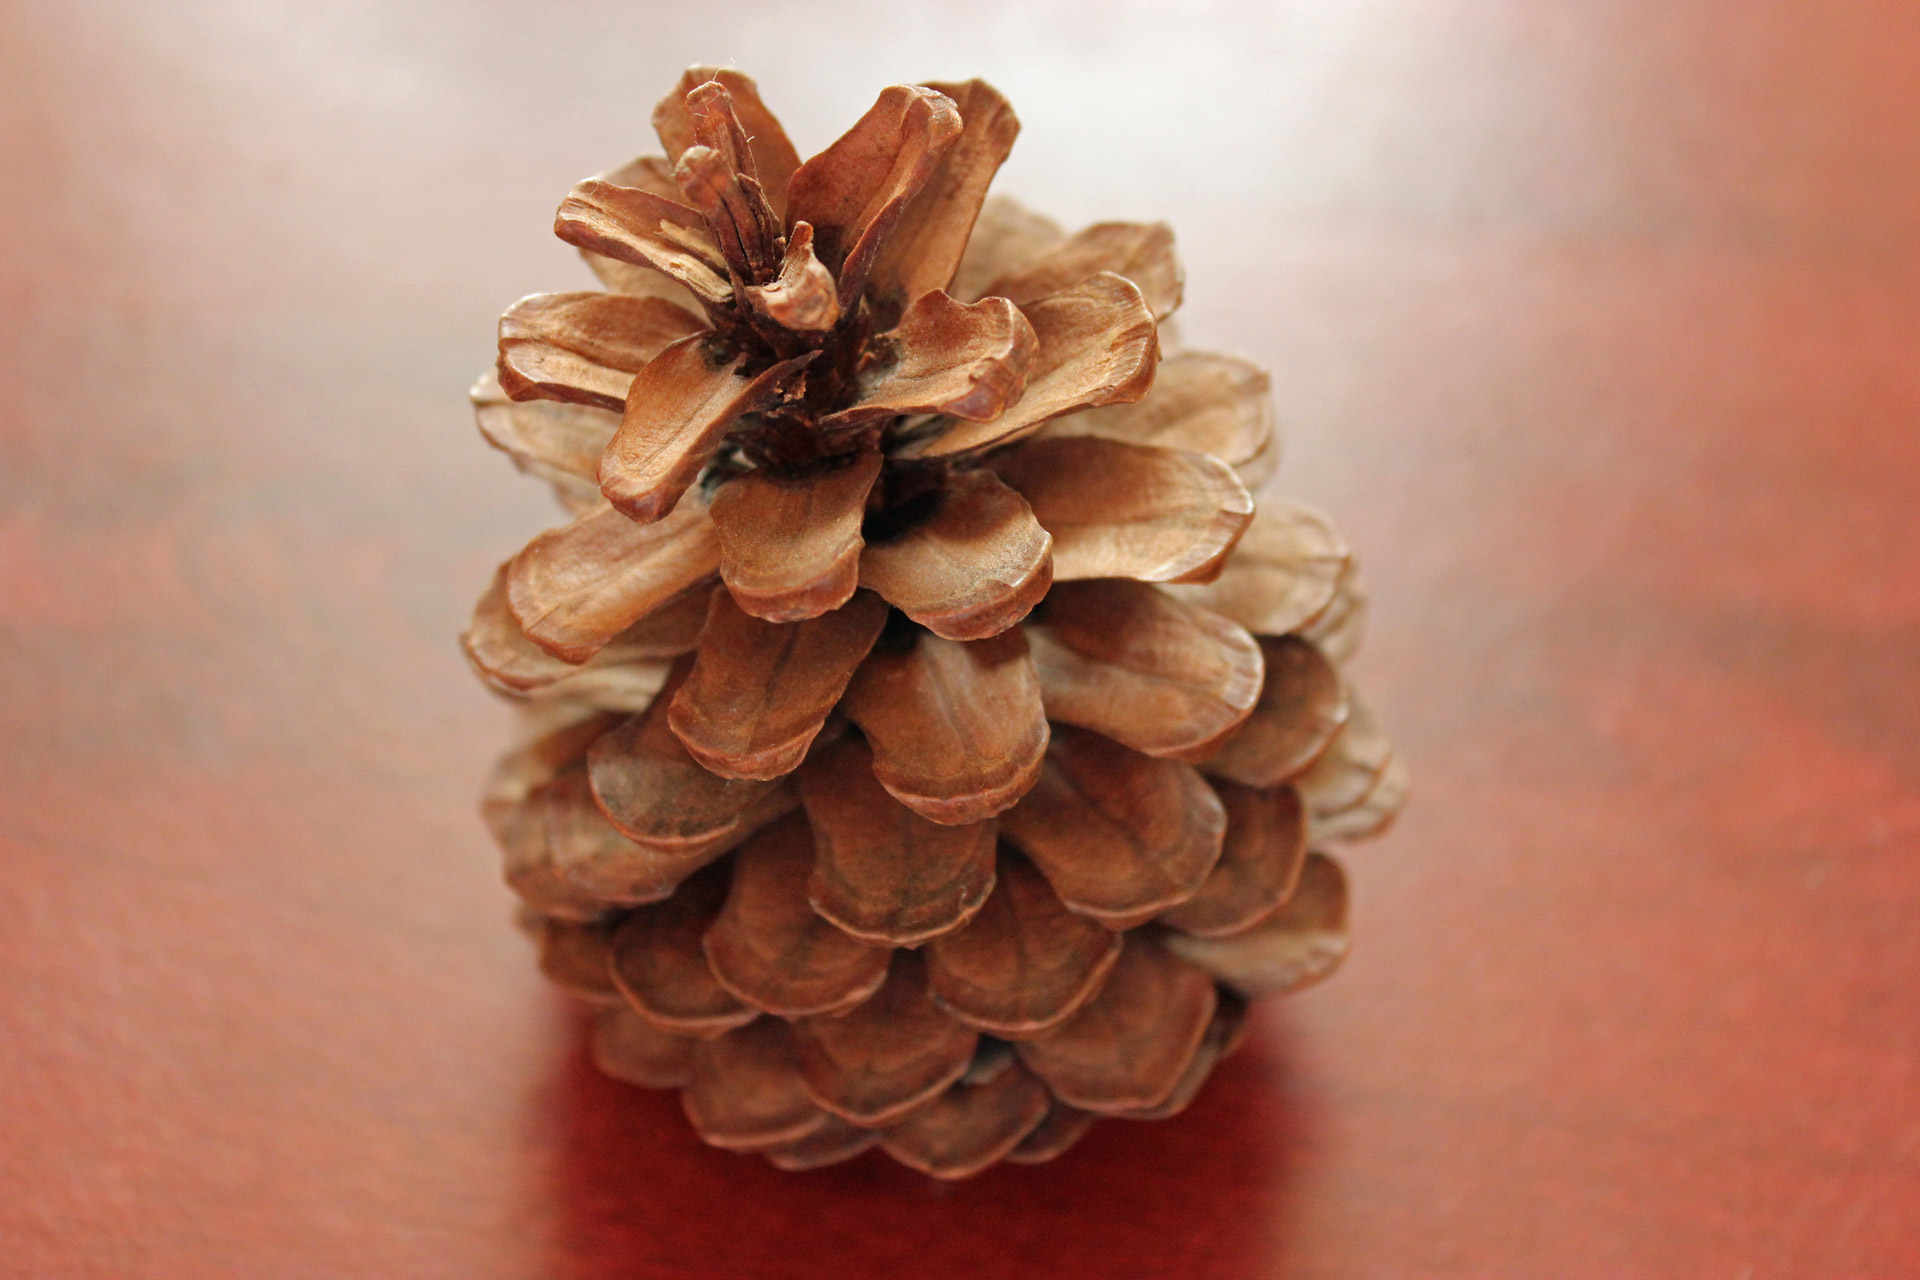
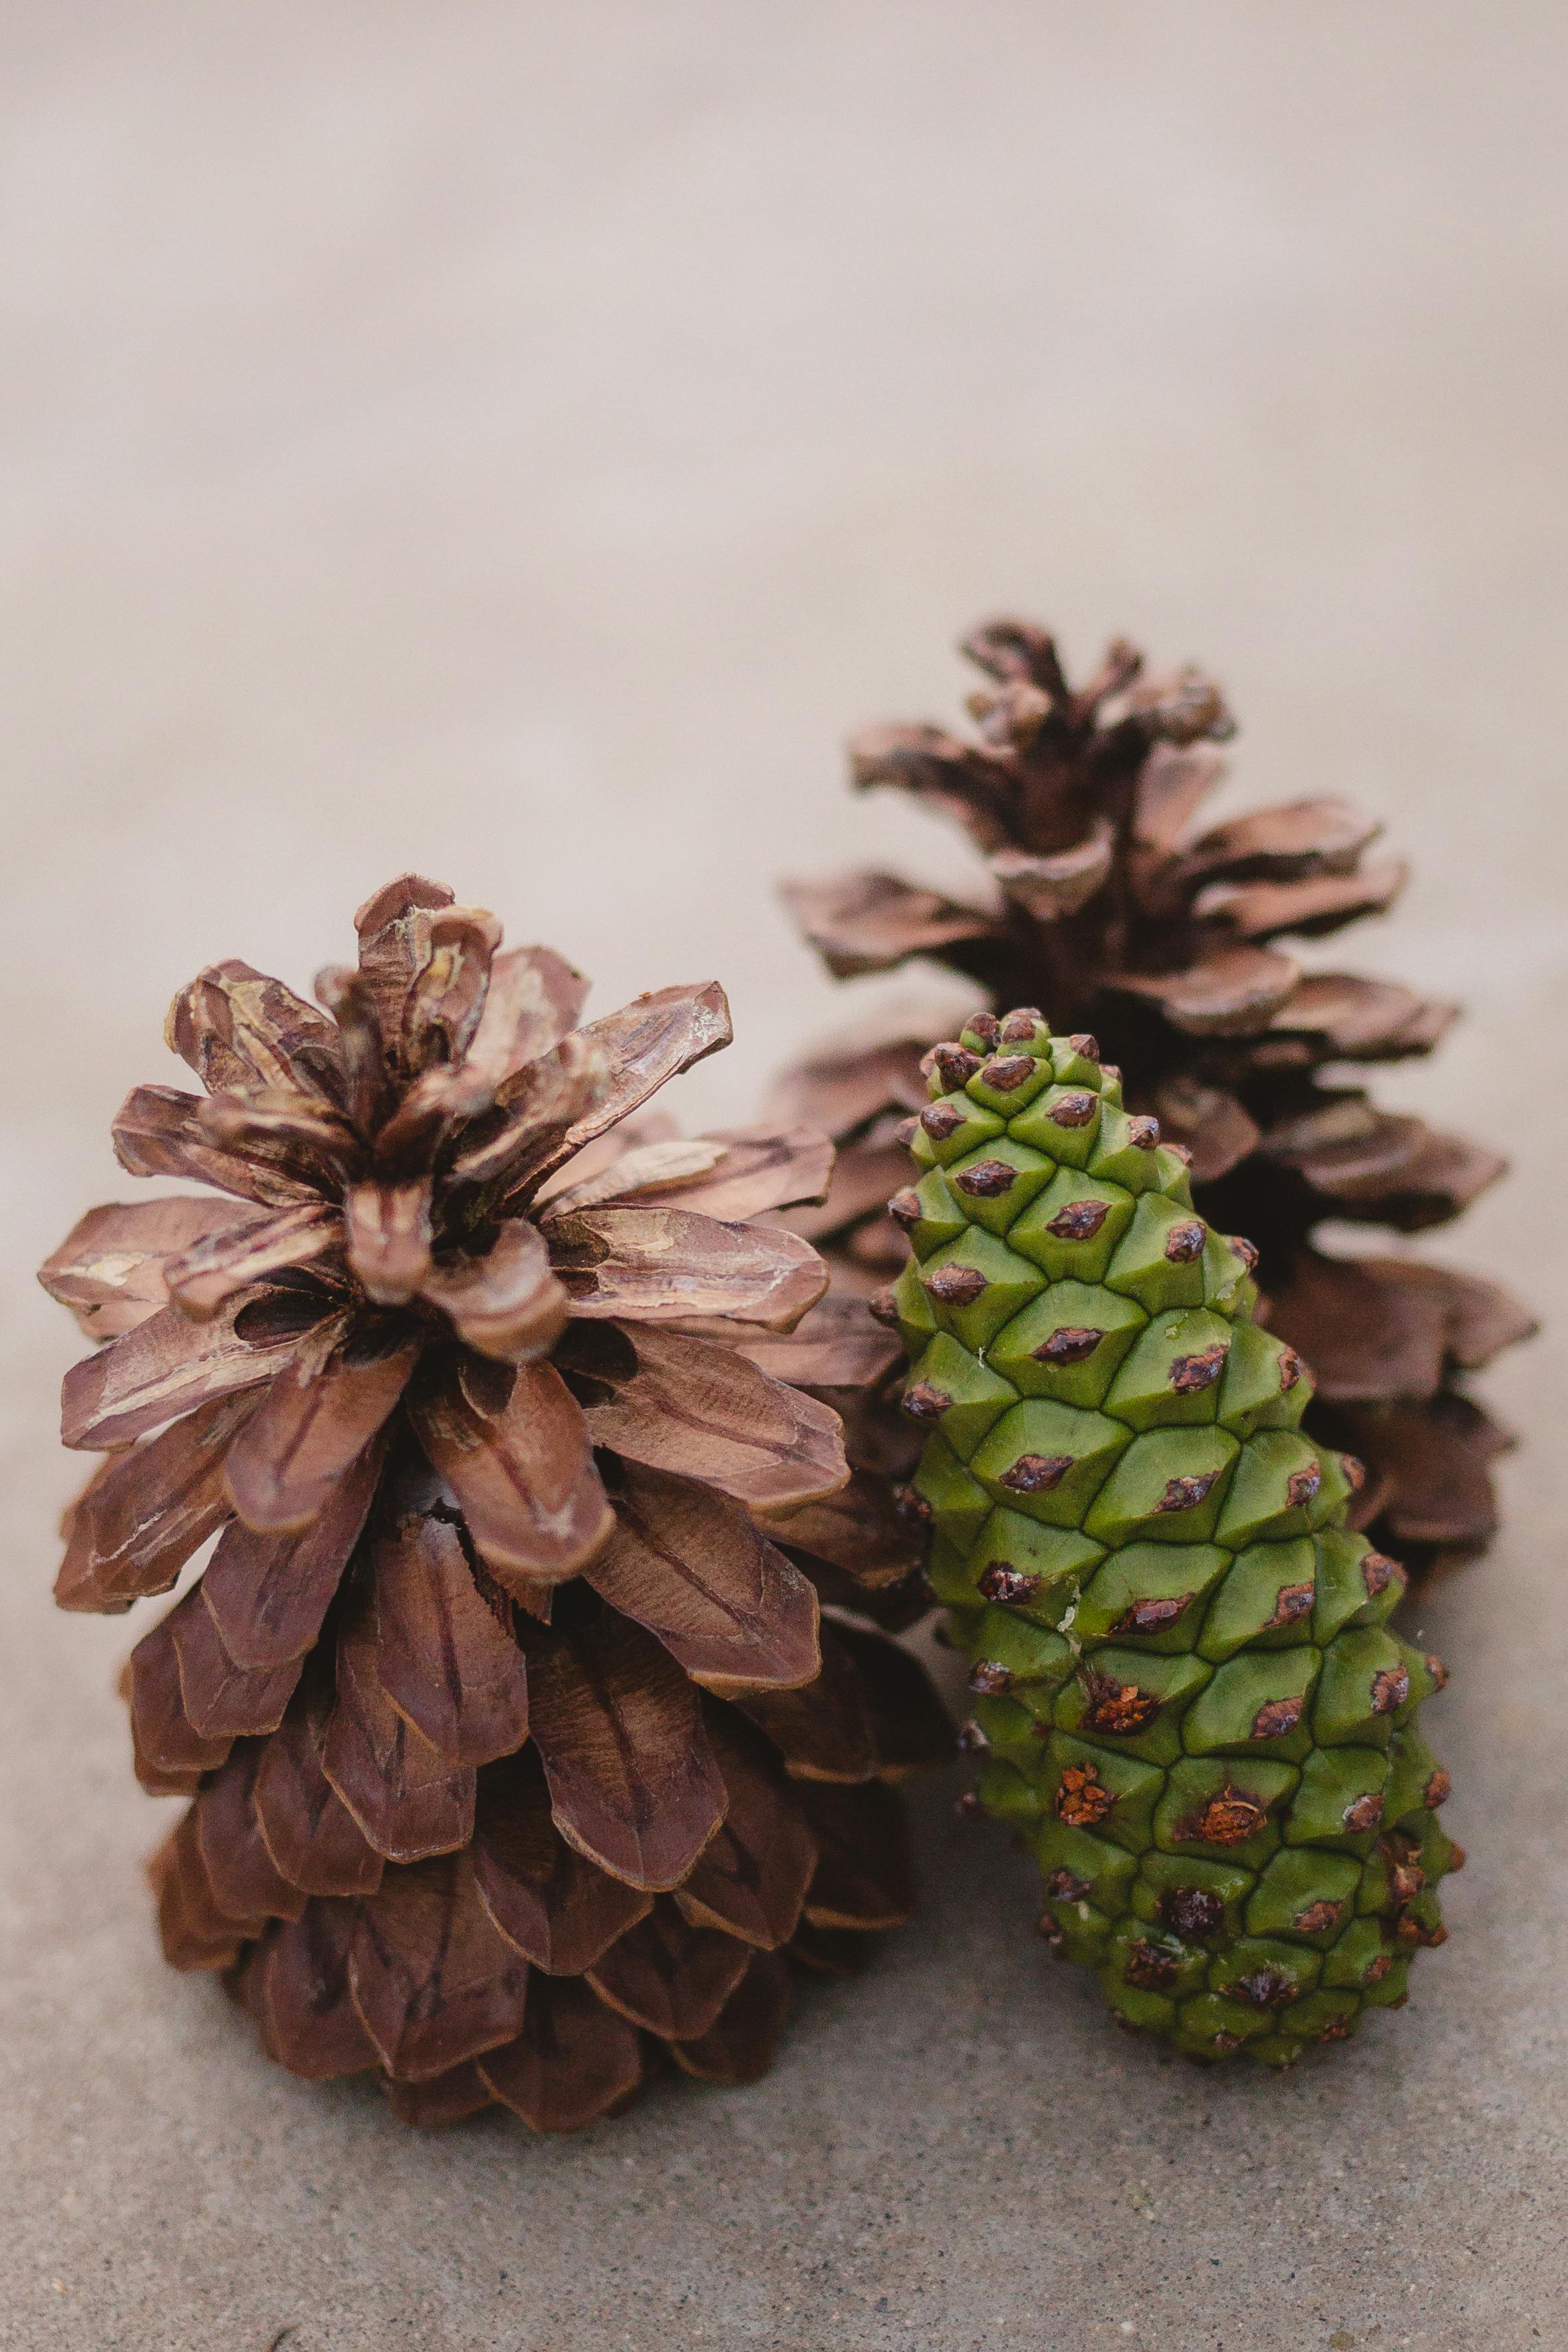
Pine cones from the lodgepole pine tree are conical before opening to a rounded to oval shape in an orangey-red or tan color. Lodgepole pine cones are 1" to 3" (2.5 - 7.5 cm) long and contain several winged black seeds. The slender egg-shaped cones grow on pine trees up to 160 ft. (50 m) tall.

Pine Cone Wreath Pictures, Photos, and Images for Facebook, Tumblr
Plus, the finished products are great DIY fall decorations. For instance, look to the adorable pine cone owls and turkeys for little touches to add around the house. Or, try the big pine cone topiary or the many DIY fall wreaths for an attention-grabbing display in any room. There are also a few ideas that will double as pretty winter.
Yosemite Pine Cones Free Stock Photo Public Domain Pictures
If you have some large pine cones you can make a beautiful, budget-friendly piece of decor for your front door. I used ribbons from the Dollar Tree and some.
DIY Candy Corn Pine Cones Who Needs A Cape?
Trois-Rivières (French pronunciation: [tʁwɑ ʁivjɛʁ], Canadian French: [tʁwɔ ʁivjaɛ̯ʁ] ⓘ - 'Three Rivers') is a city in the Mauricie administrative region of Quebec, Canada, at the confluence of the Saint-Maurice and Saint Lawrence rivers, on the north shore of the Saint Lawrence River across from the city of Bécancour.It is part of the densely populated Quebec City-Windsor.
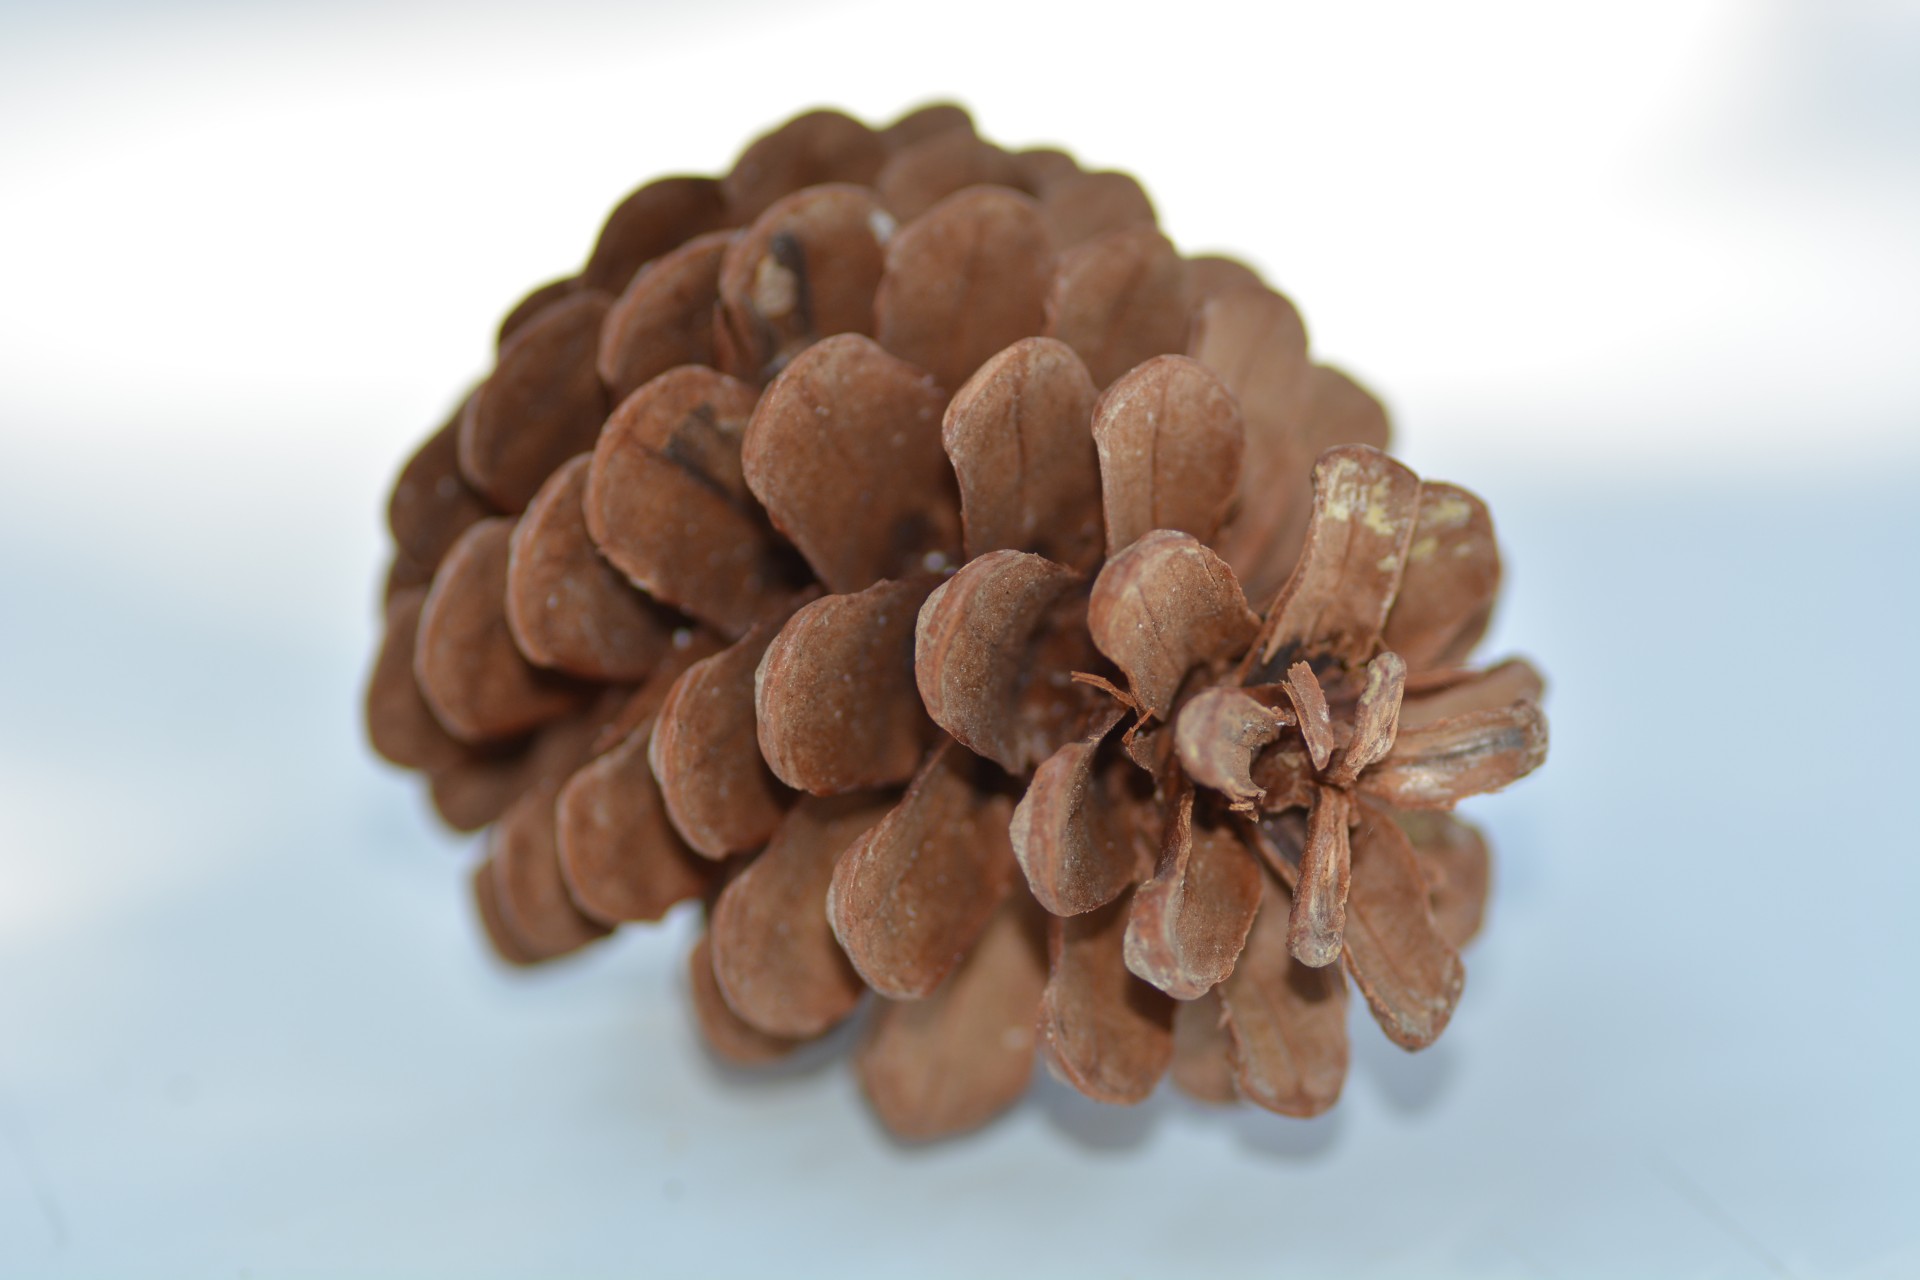
Large Pine Cone Free Stock Photo Public Domain Pictures
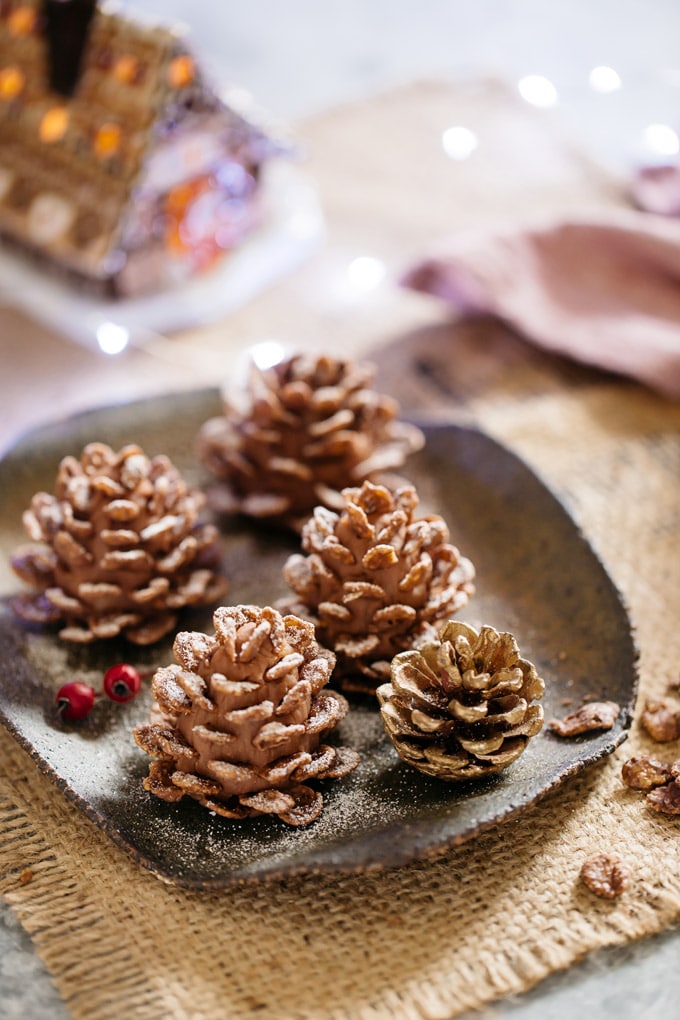
In a food processor or in a Ziploc bag, crush the biscuits into fine crumbs. Add ground almond, cocoa powder, powdered sugar and mix. Add melted butter, milk and mix well. Shape the mixture into pine cones as shown in the video. Then, decorate with chocolate cereal to create pine cones form as shown in the video.

Pine Cones Tap · Free photo on Pixabay
Check out our candy pine cones selection for the very best in unique or custom, handmade pieces from our pine cones shops.
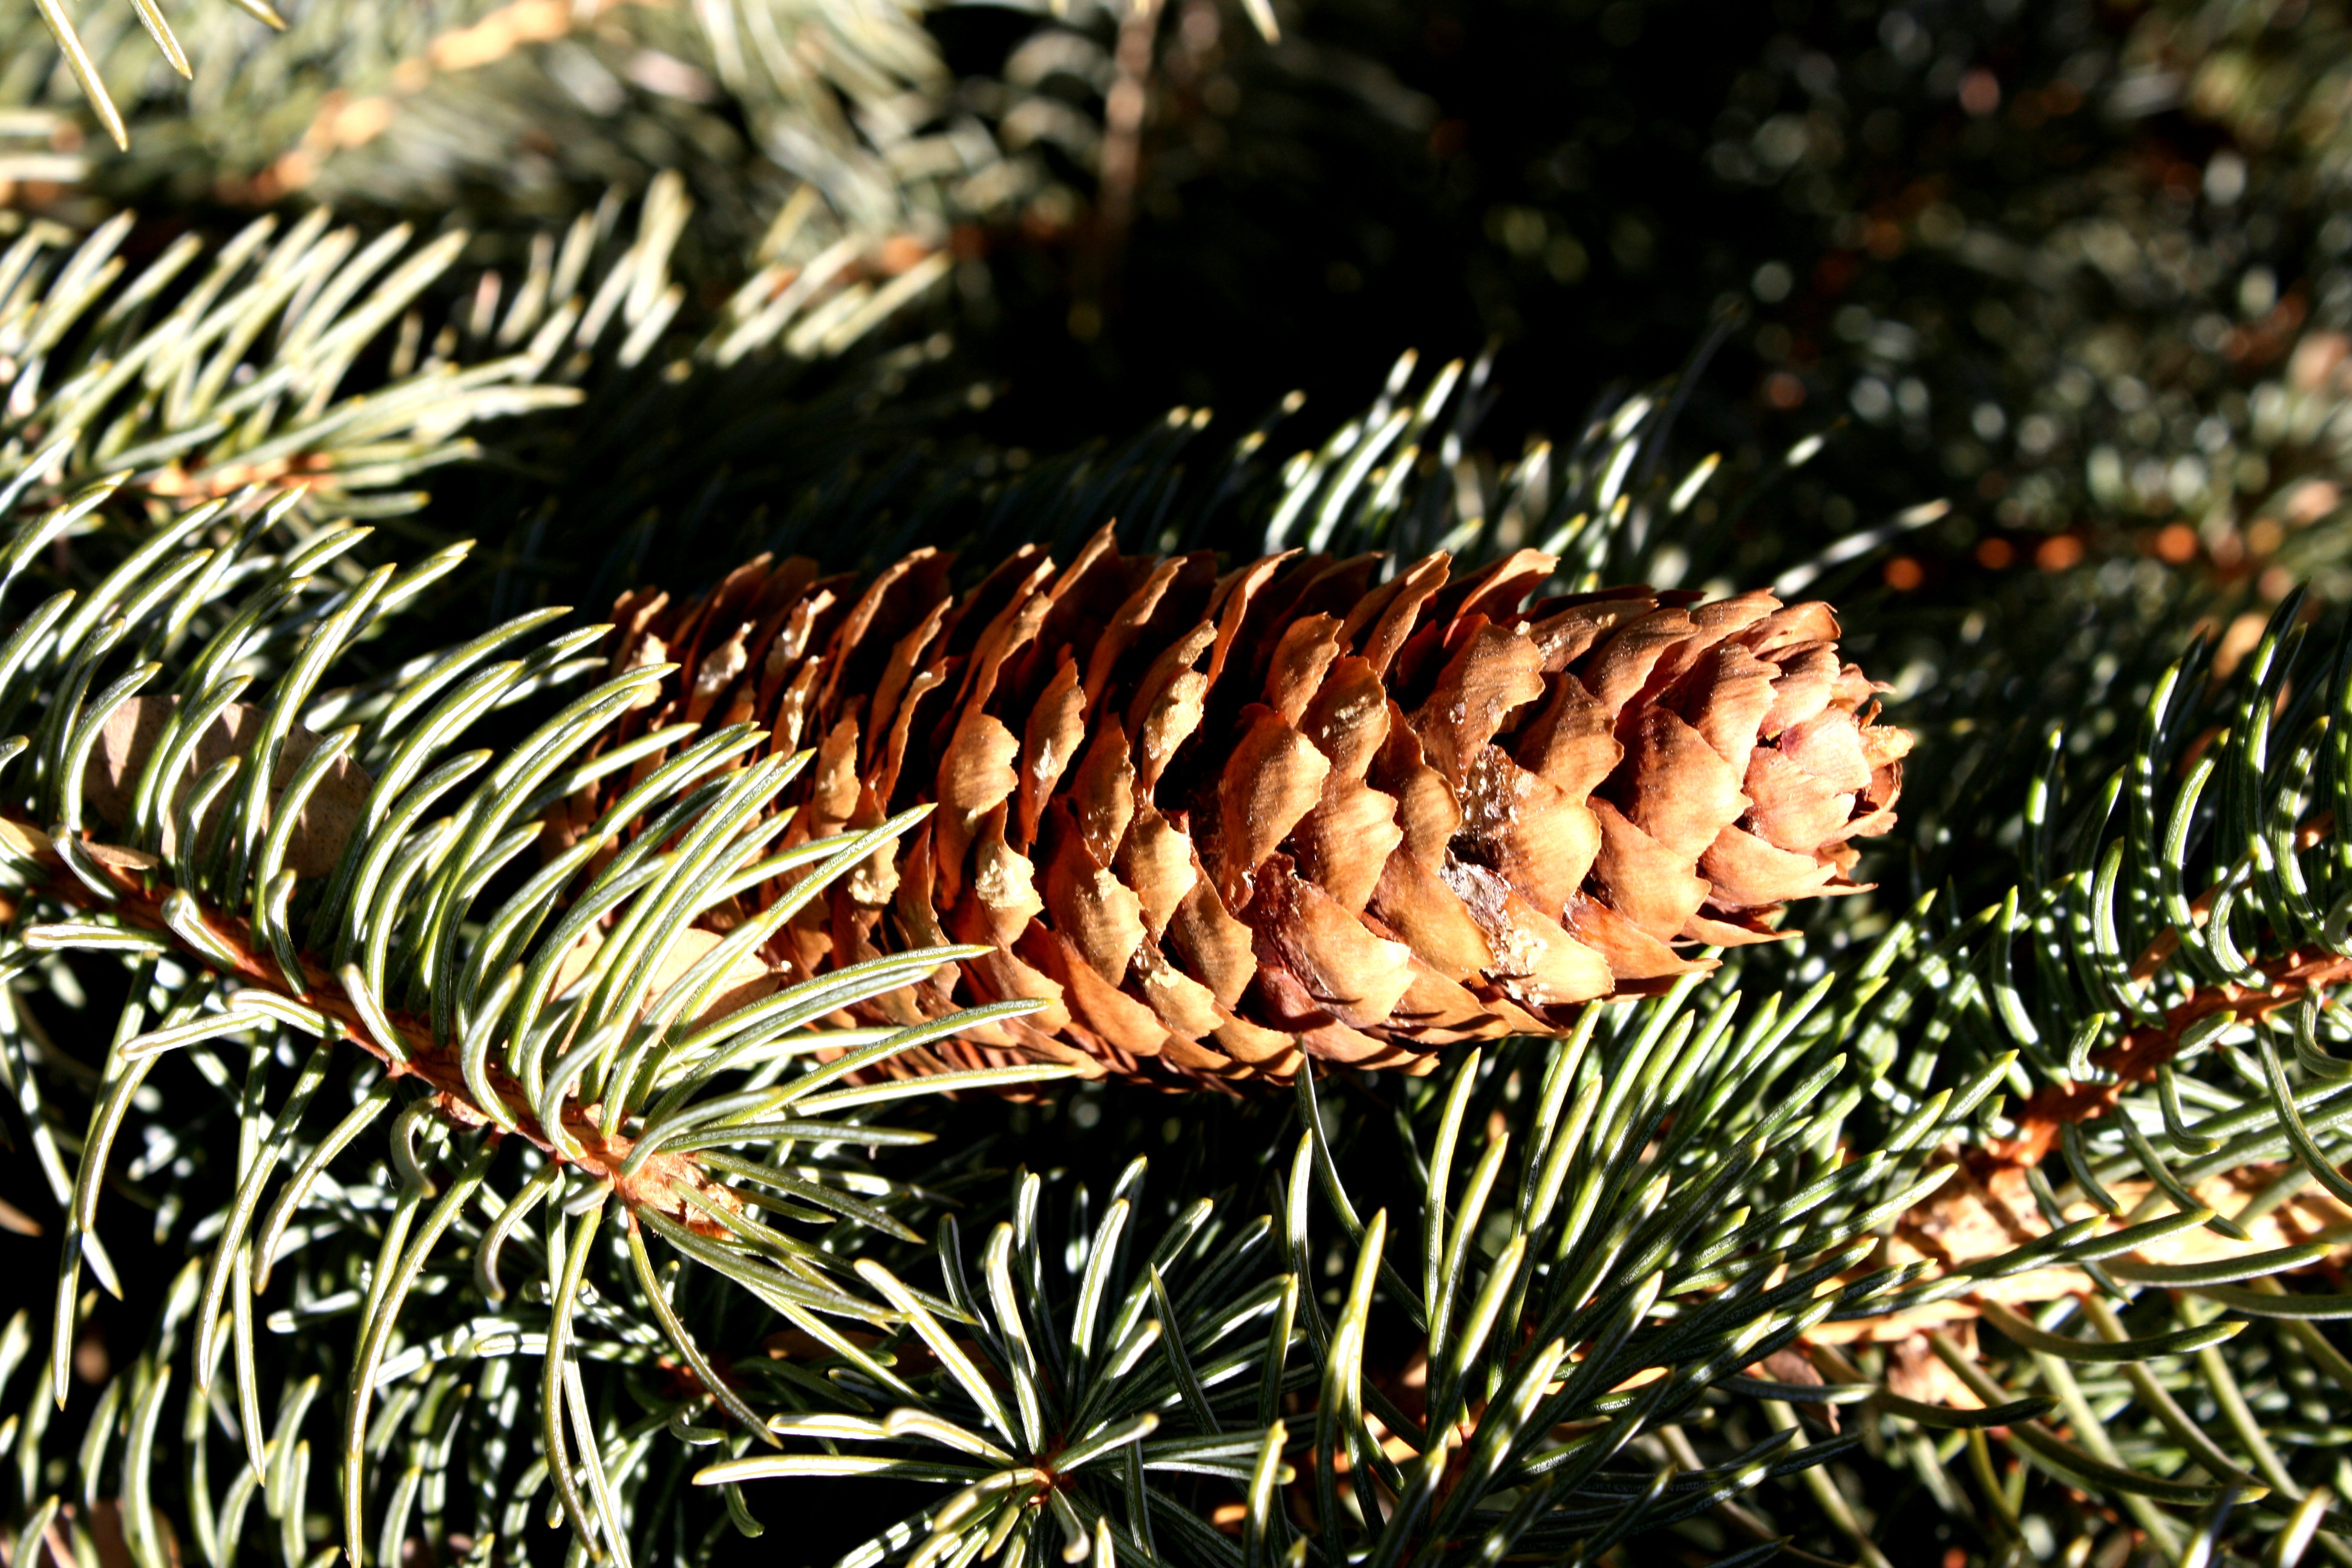
Pine Cone on Tree Picture Free Photograph Photos Public Domain
Directions: Begin by applying the yellow paint onto the pine cones. Apply two coats, dabbing the cones until they have the coverage you want. If you want a more rustic or vintage look, you can apply a thinner coat so plenty of the pine cone shows through the paint. Allow to dry.
Yosemite Pine Cones Free Stock Photo Public Domain Pictures
Bake the pine cones for one hour, keeping the oven at 200º Fahrenheit. The heat from the oven will melt the sap and bake it off. But even more importantly, it will also kill any hiding insects and bugs. After "baking" for an hour, remove the pine cones from the oven and allow them to cool fully before handling. Step 3.
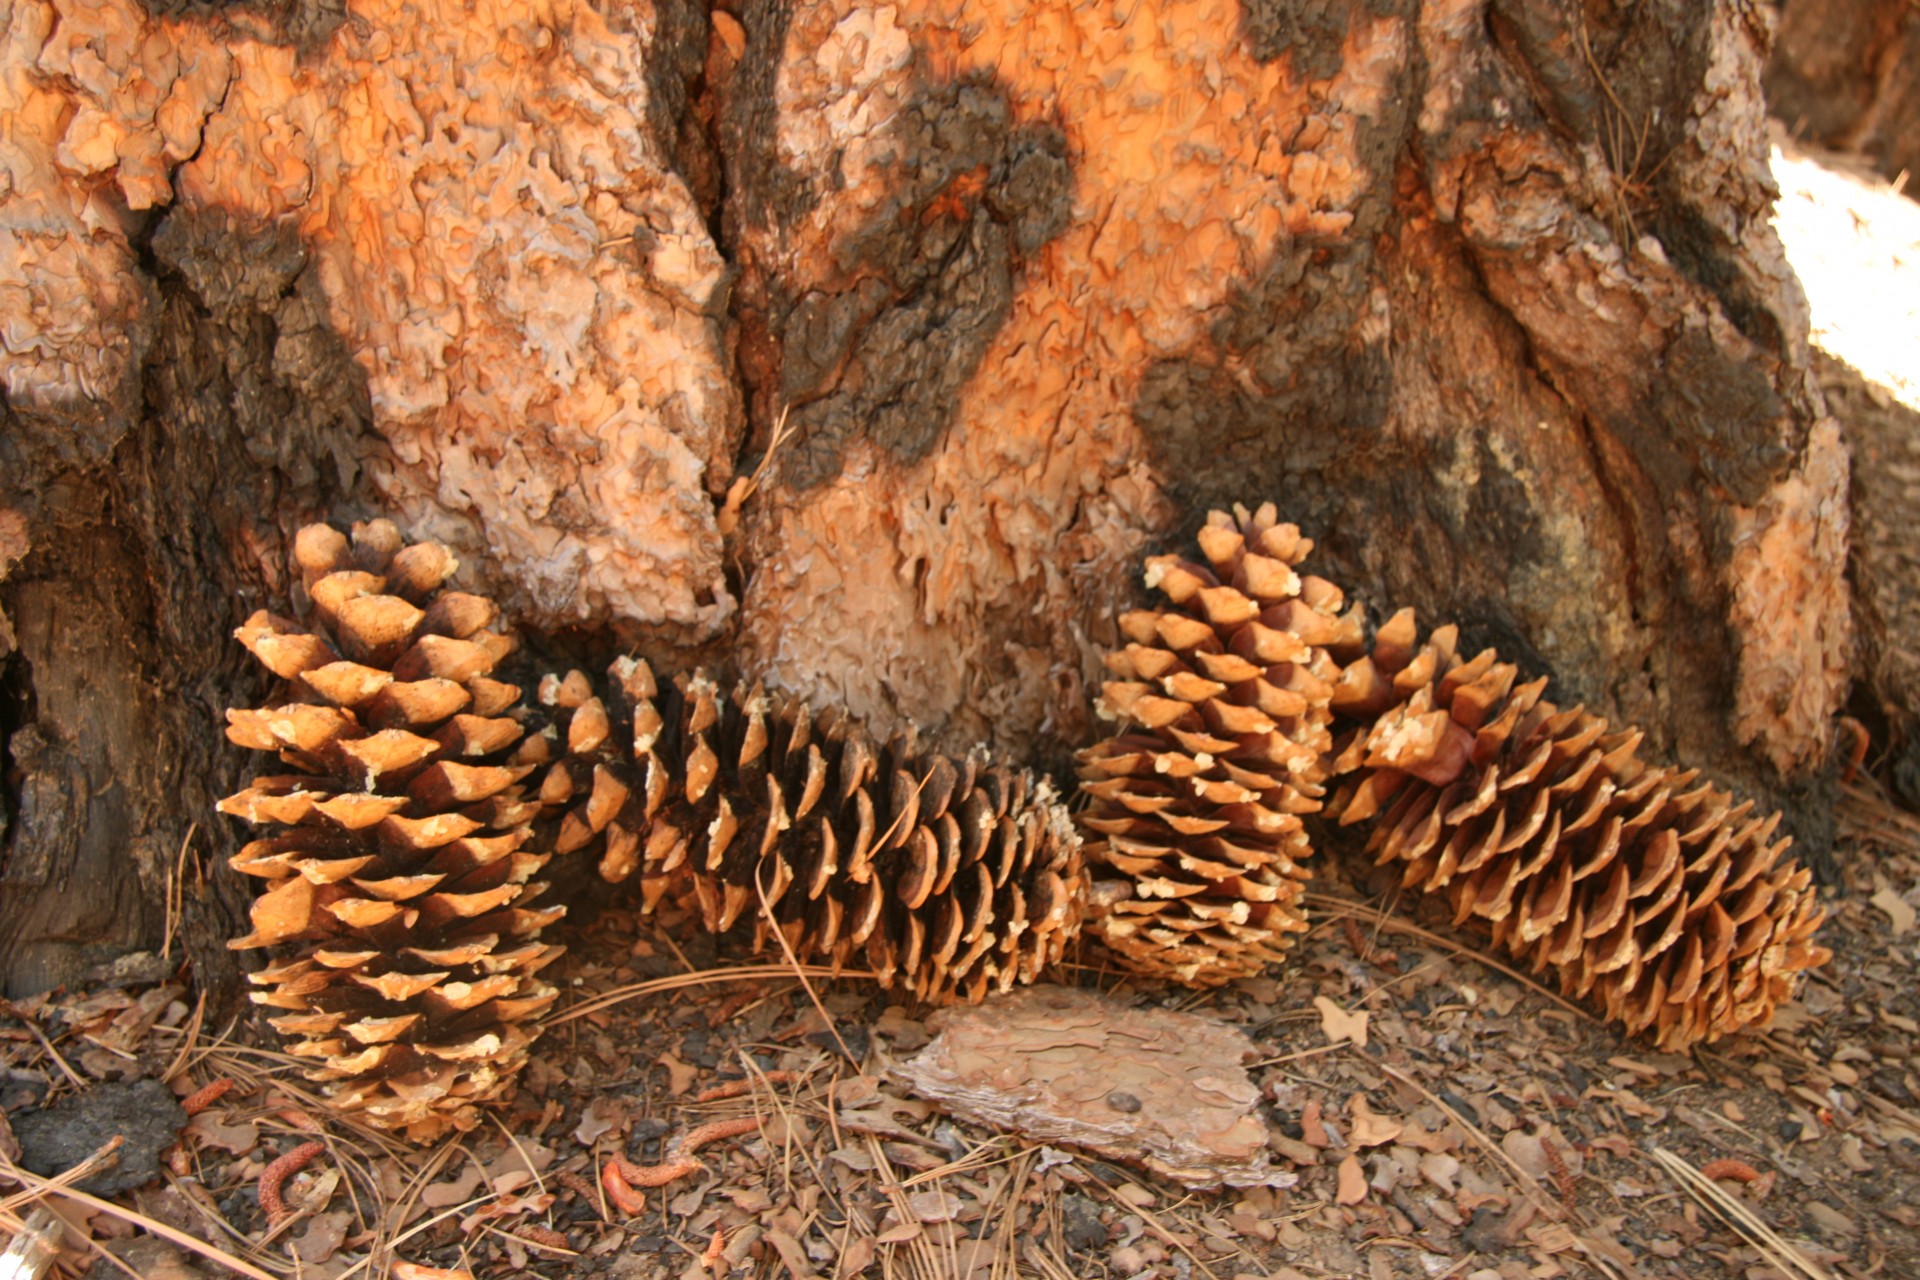
Three Pine Cones Free Stock Photo Public Domain Pictures
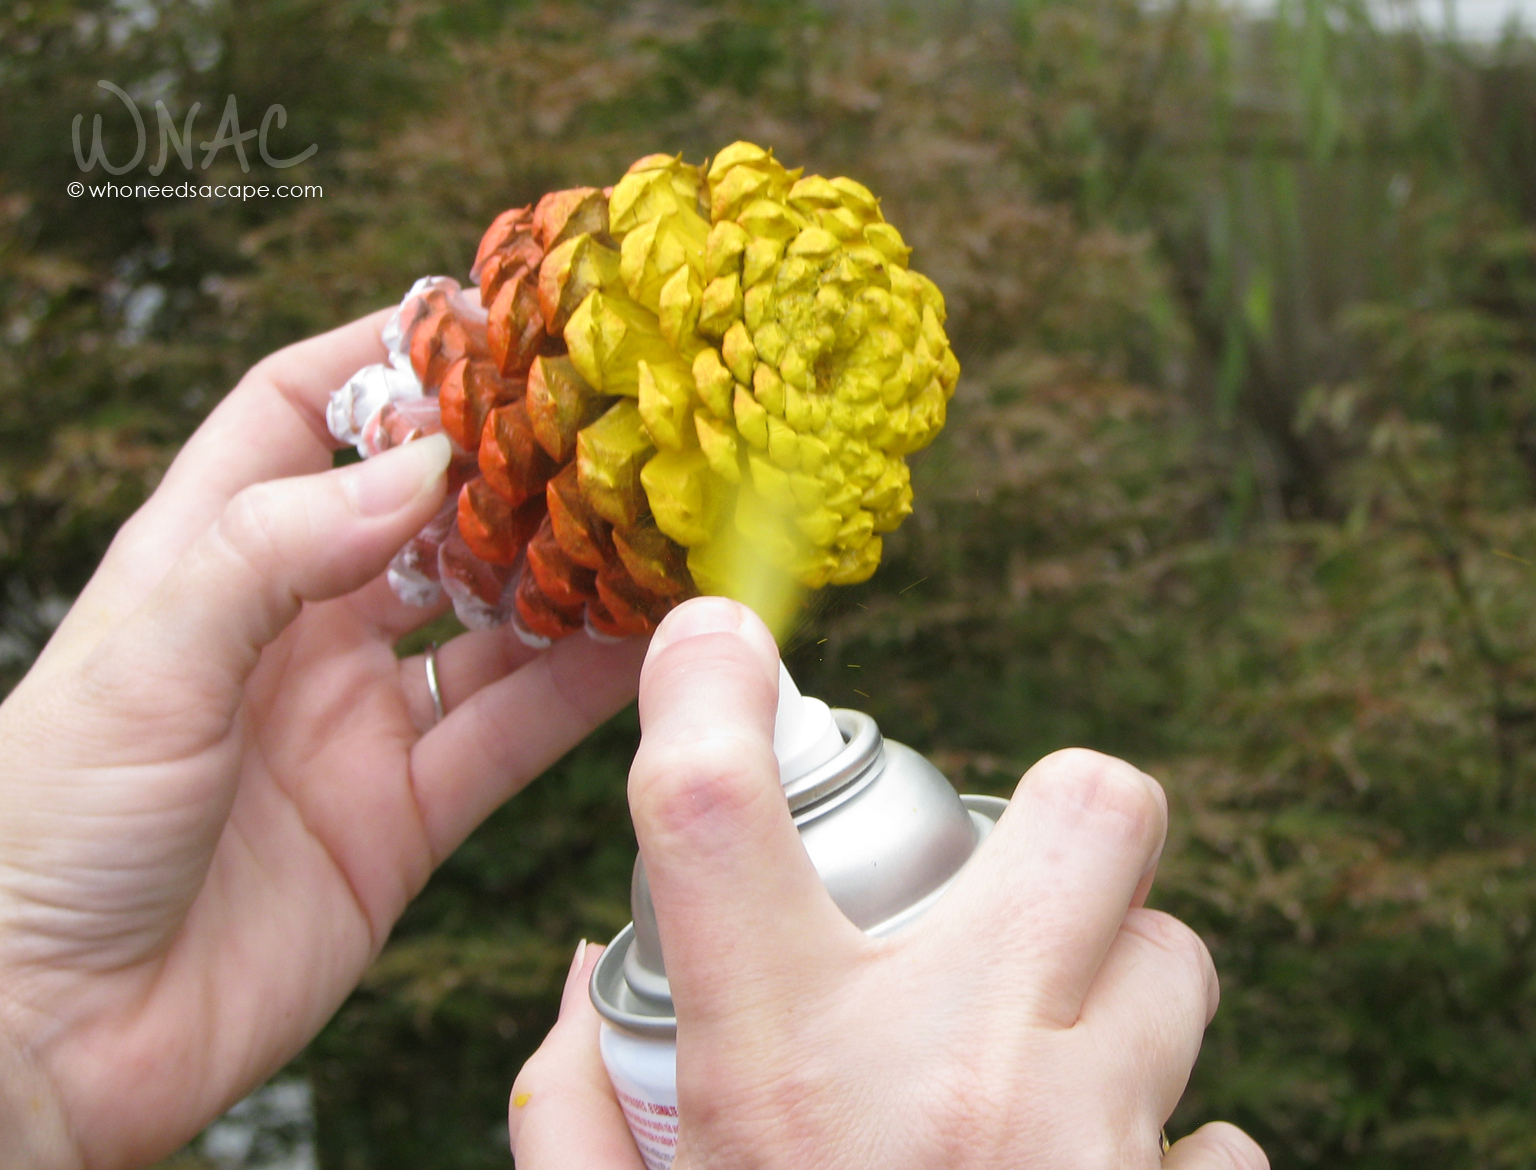
Create the look of a piece of candy corn by simply painting a section of each pine cone in orange, yellow, and white. First, I painted the entire pine cone in white, and then added the yellow and orange paint to the tips of the pine cones in sections to resemble a piece of candy corn. So easy! To add the burlap and white denim ribbon between.

FilePine cone with nuts.jpg Wikimedia Commons
Candy Corn may not be the tastiest of the Fall and Halloween treats but it sure is fun to craft and decorate with. Candy Corn Painted Pine Cone Garland. Candy corn pinecones take a few of these. Spray bottom of pine cones yellow and let dry for 30 minutes. Spray top of pine cones white and let dry for 30 minutes. Add some of this.
Pine Cones · Free Stock Photo
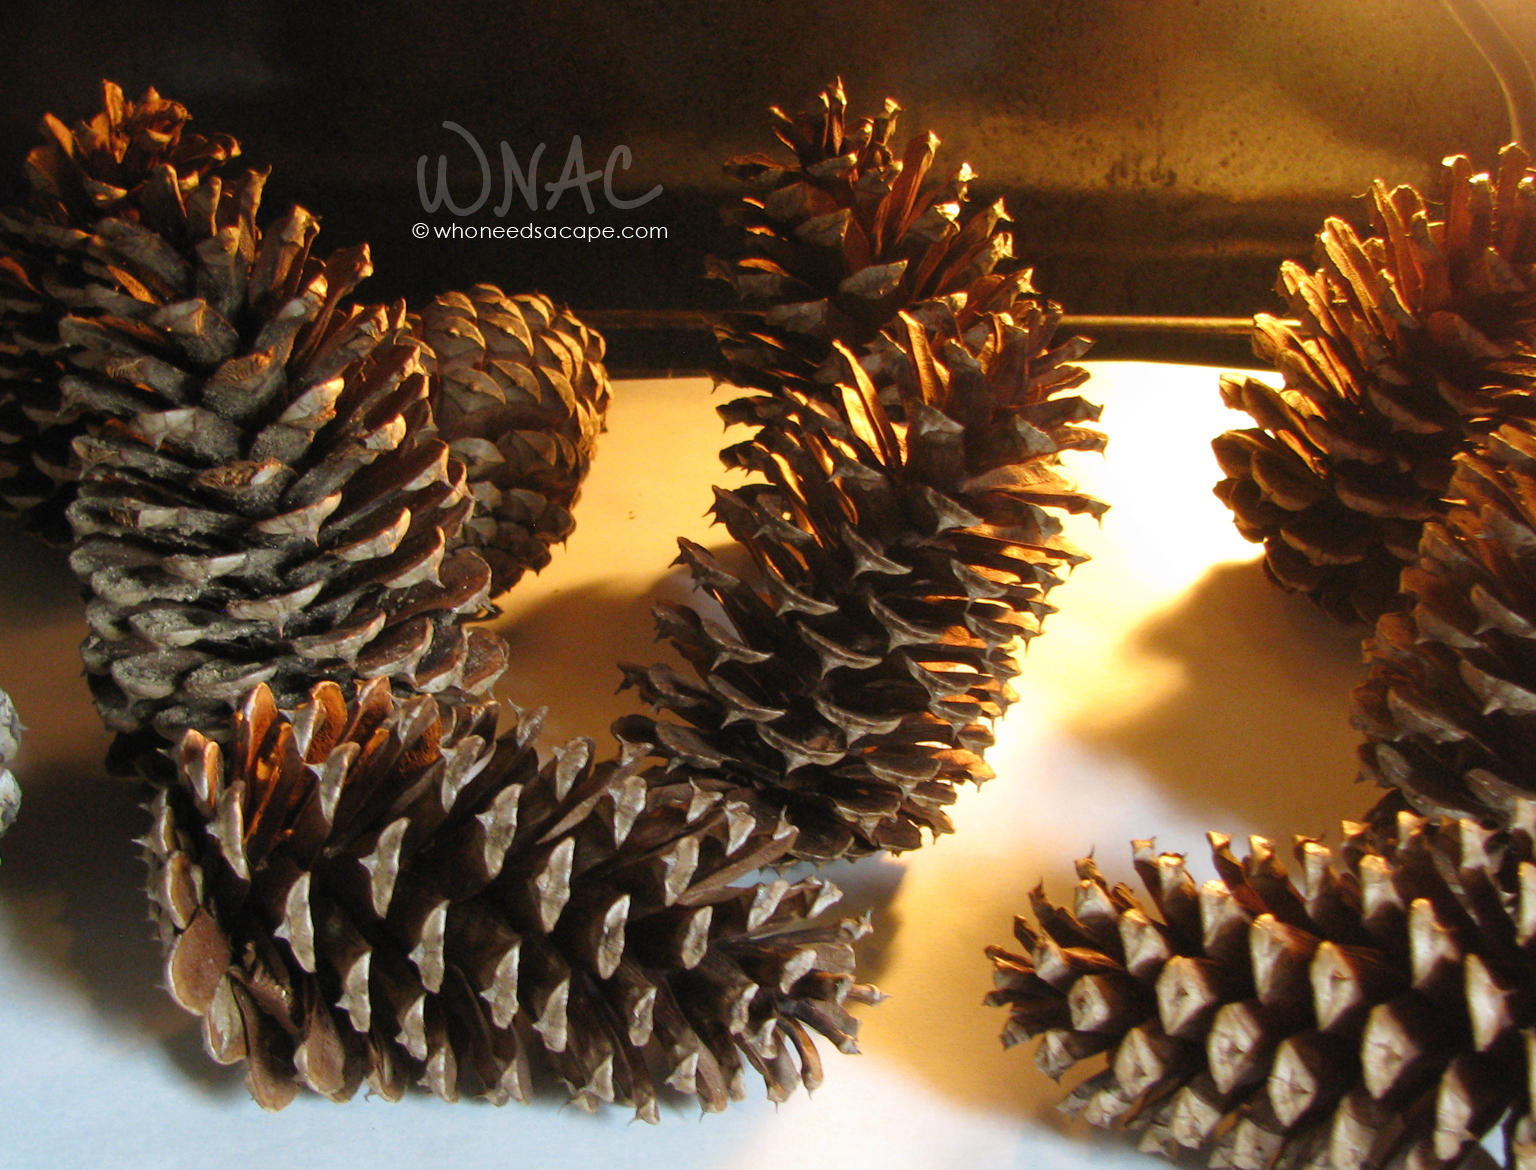
Here's what you'll need to make your own candy corn inspired pine cone wreath: 15-17 medium size pine cones (if you can't find them in nature, you can pick them up at your local JoAnns Fabric and Craft Store) orange, yellow and white spray paint. base wreath (this one I upcycled from an old project, but you can pick them up for a few.
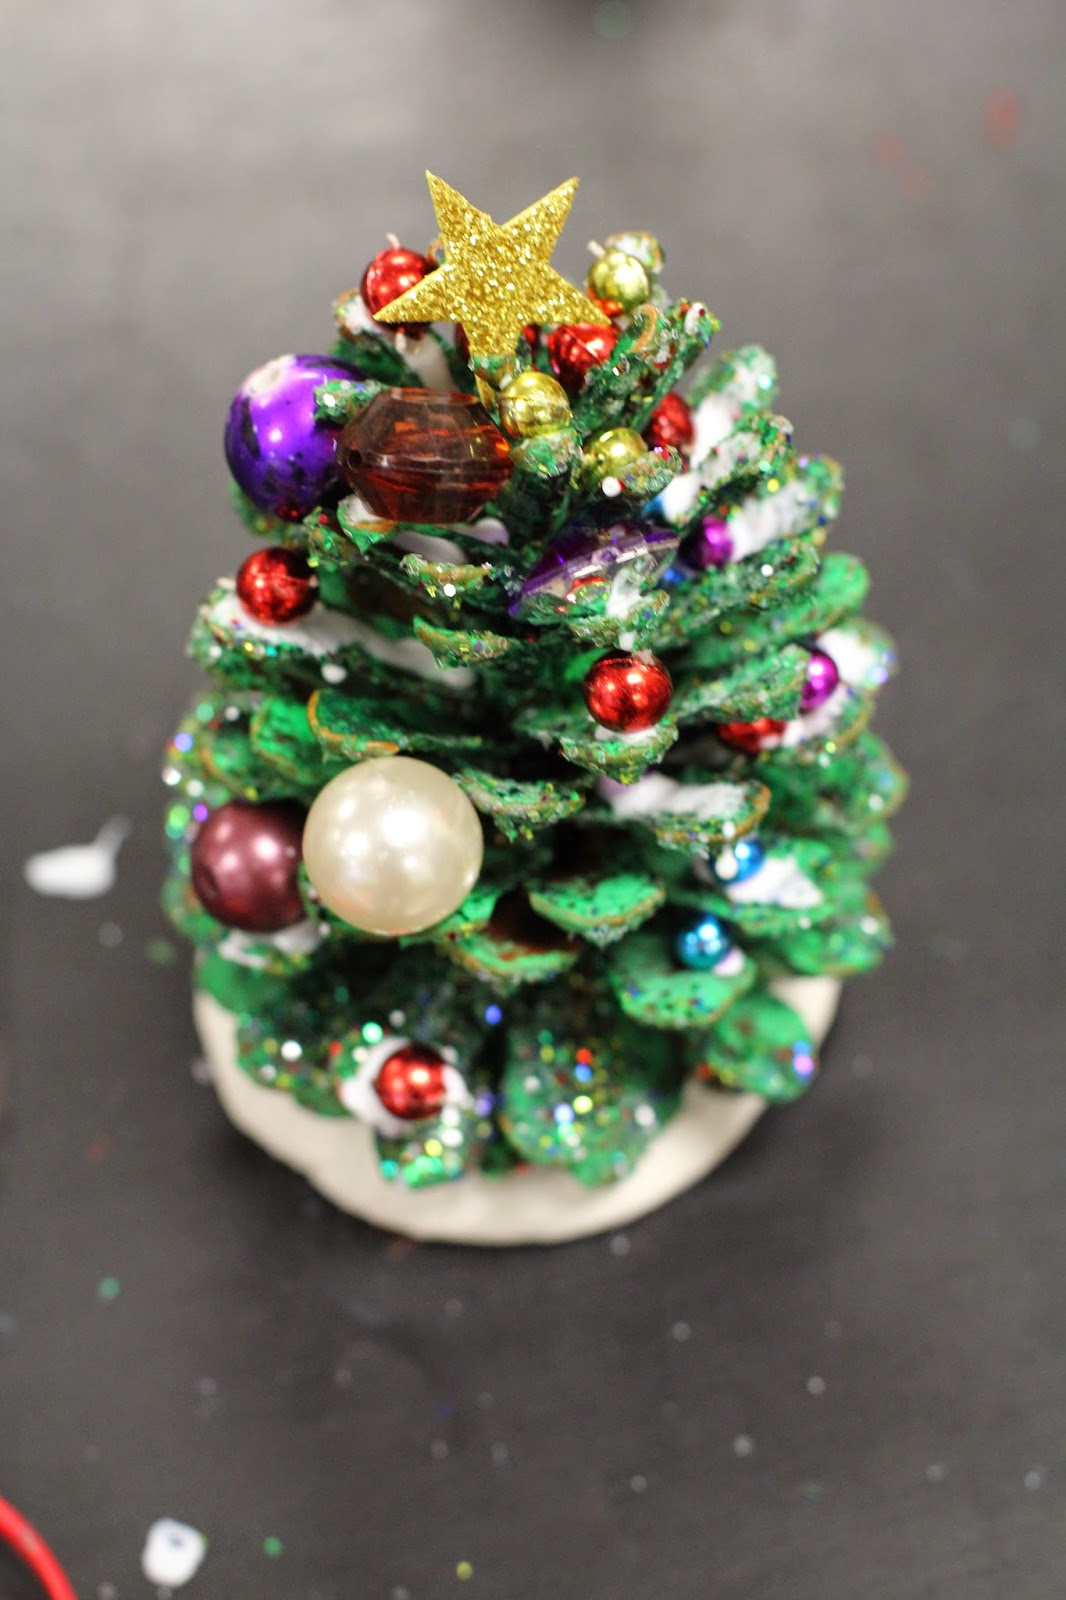
37 Amazing Pine Cone Christmas Tree Decorations Ideas Decoration Love
Melt the chocolate chips with the coconut oil by heating in a bowl in the microwave in 30-second increments. (Or use a double boiler). Take the pine cones out of the freezer and carefully coat each one with the melted chocolate. Place the pine cone brownies back on the parchment paper to set.
Pine Cone Free Stock Photo Public Domain Pictures
Instructions. Place the pine cones on a foil-lined cookie sheet. Bake them at 200 F for 30 minutes. Then, let the pine cones sit for 24 hours. Paint the top quarter (or so) of the pine cone white.

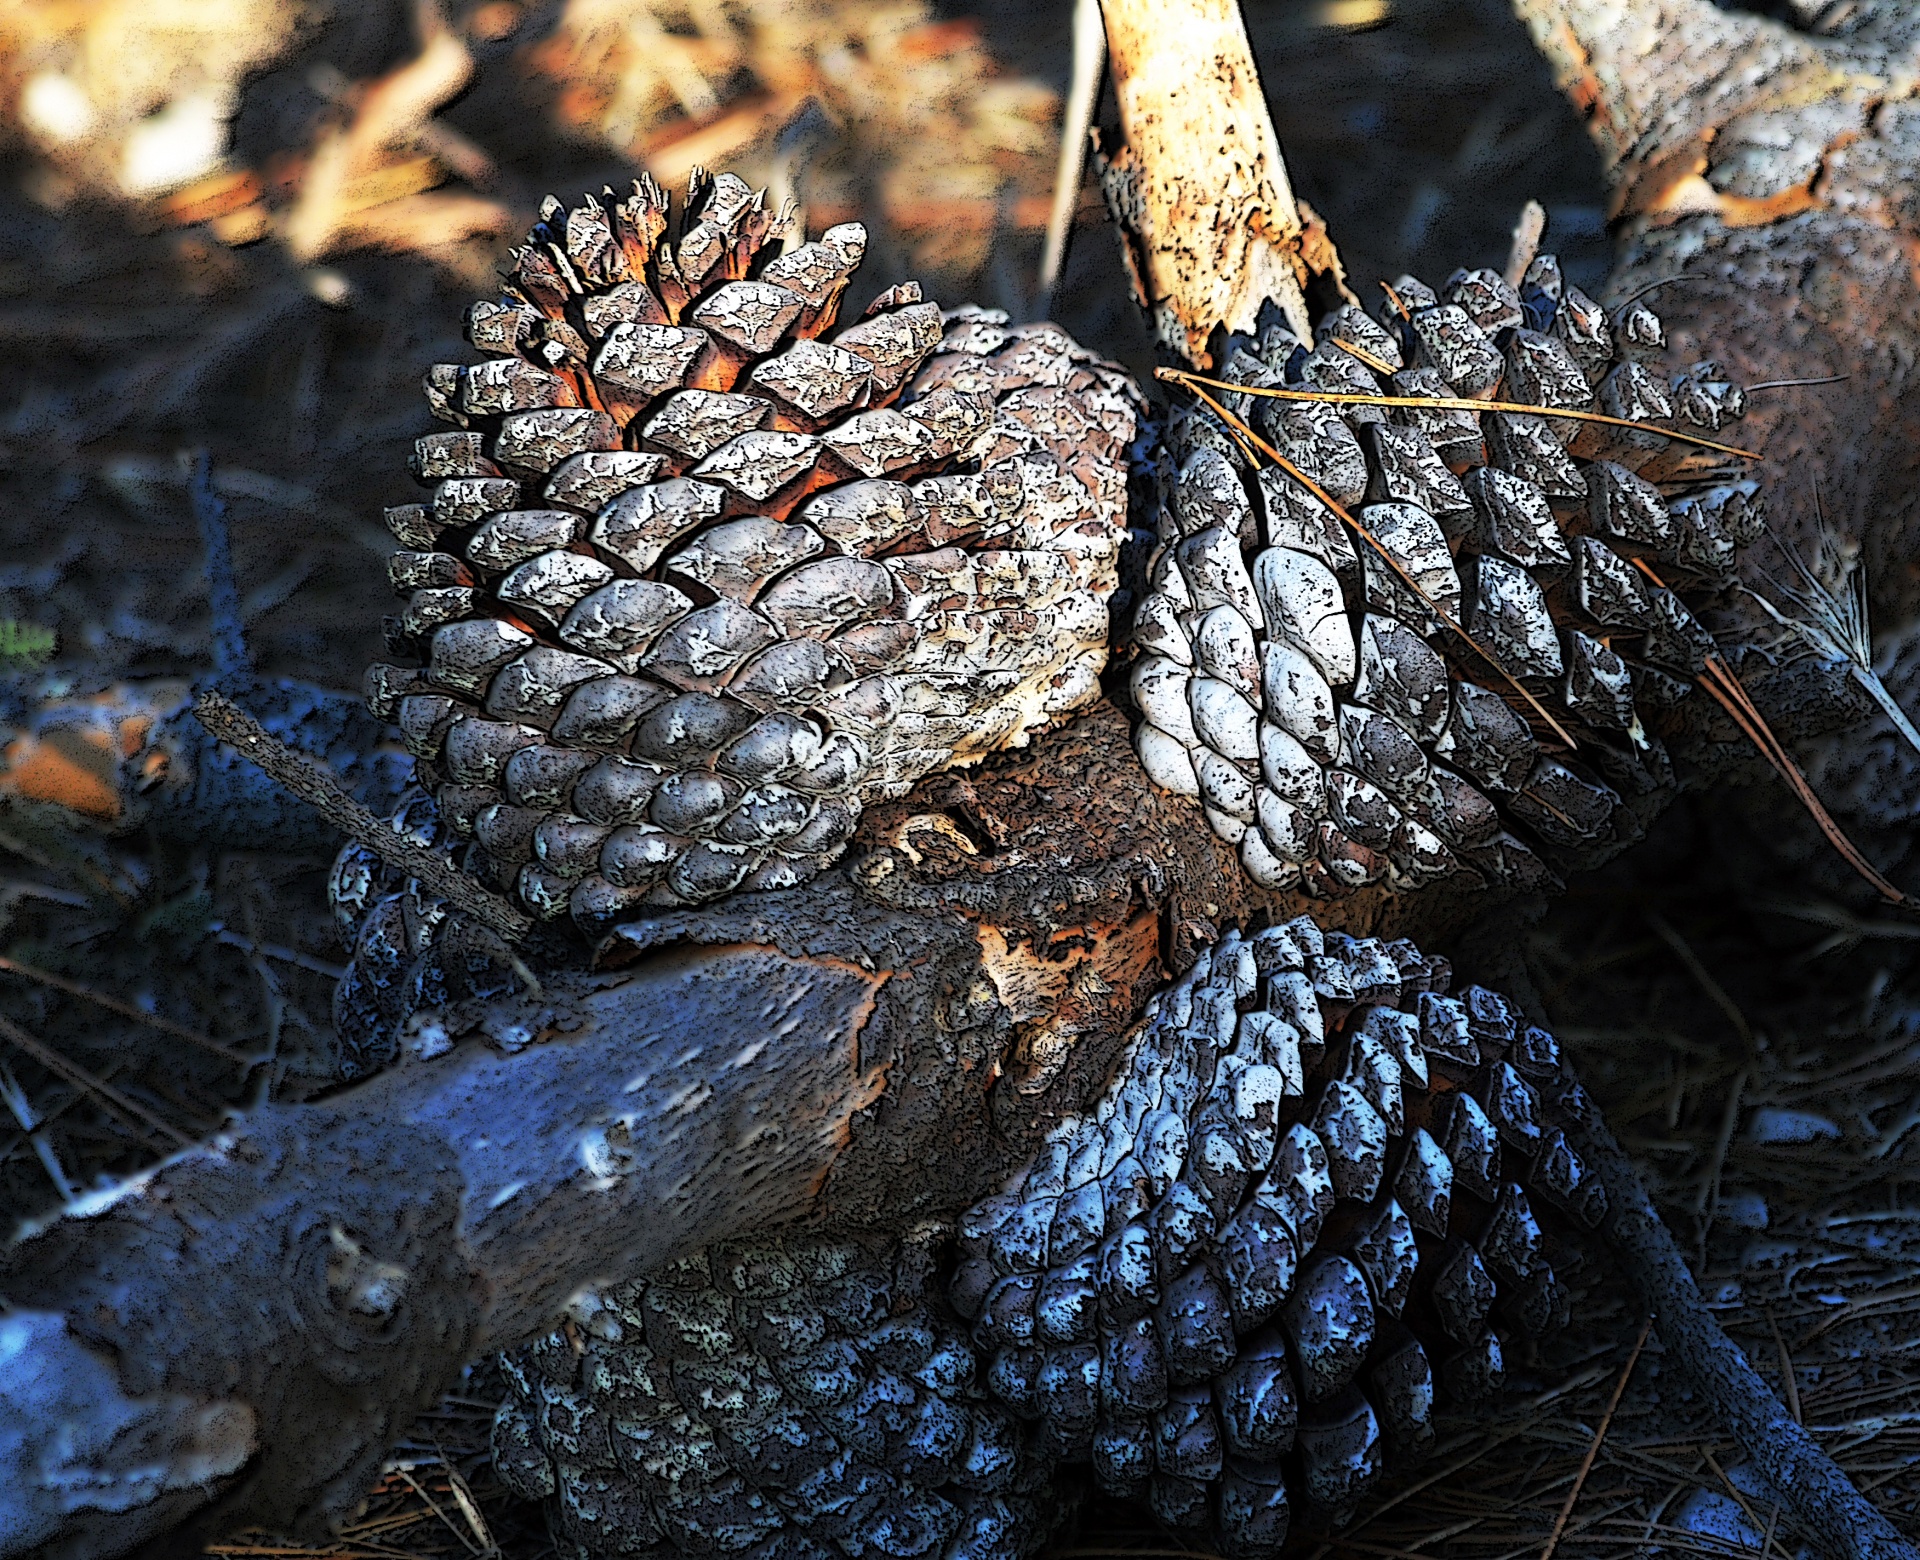
Walking Arizona Pine Cones in the Desert
Spray the Painted Pine Cone with Acrylic Sealer. Follow the directions on the back of the can, and make sure to use in a well ventilated area. Hold the can about 6-12″ from the Pine Cone Candy Corn, and cover with a thin layer of sealer. It is better to do a couple of thin coats, allowing to dry in between, than it is to do one thick coat.

Quick and Easy Snowy Chocolate Pine Cones recipe
Sharing is caring! DIY Candy Corn Pine Cones ~ a fun, fast and inexpensive craft to dress up your porch or home for autumn. Perfect fall family craft! DIY Candy Corn Pine Cones is an idea that was part of last fall's project line-up at my house, but the initial execution didn't go as planned. it happens sometimes in the land of DIY.